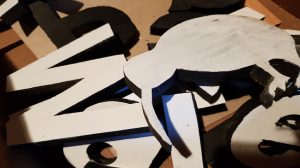
For a while now I have been making a sign, a large one, that would consist of wooden letters cut out with a Band Saw. Here is how I made the letters.
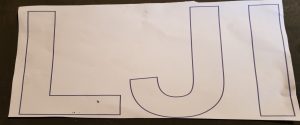
First I printed the letters on my printer.
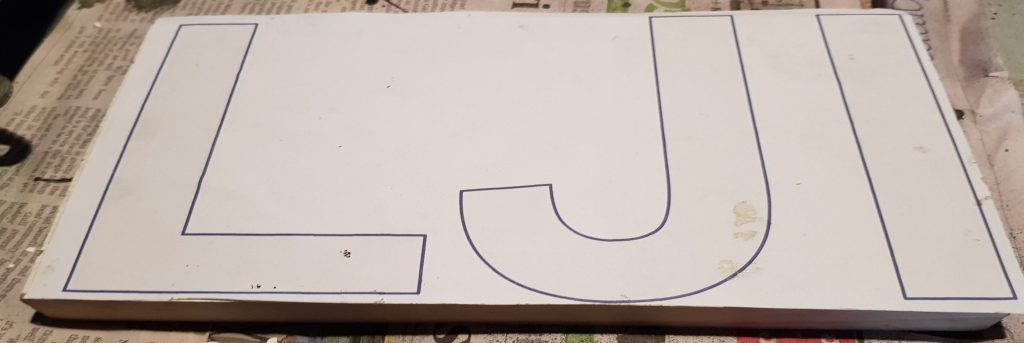
The next step was to take the piece of paper and glue it to the wood I intended to use as the wooden letters.
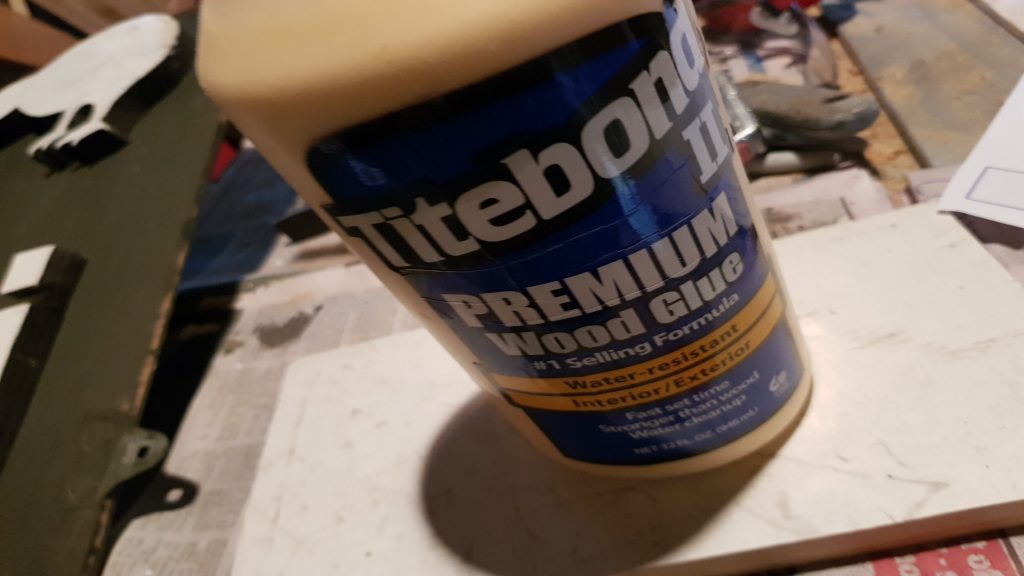
Titebond Glue
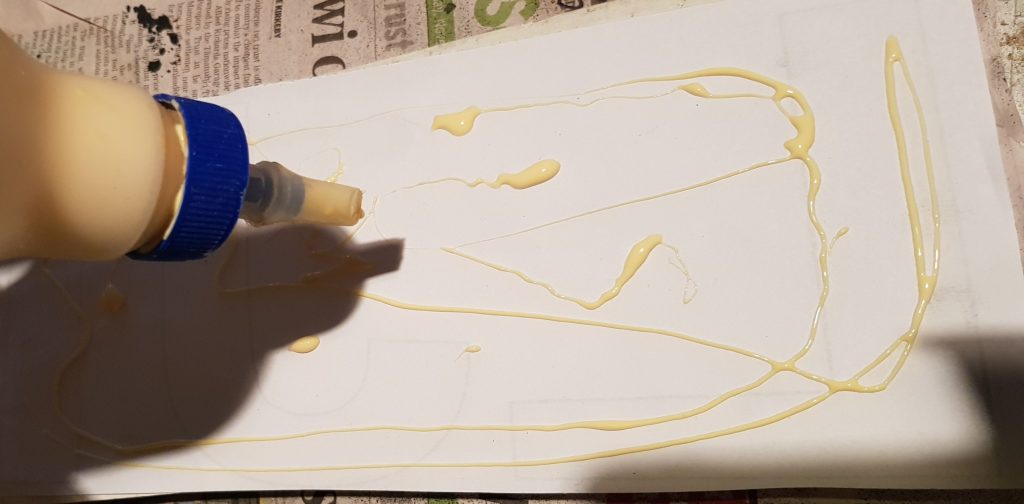
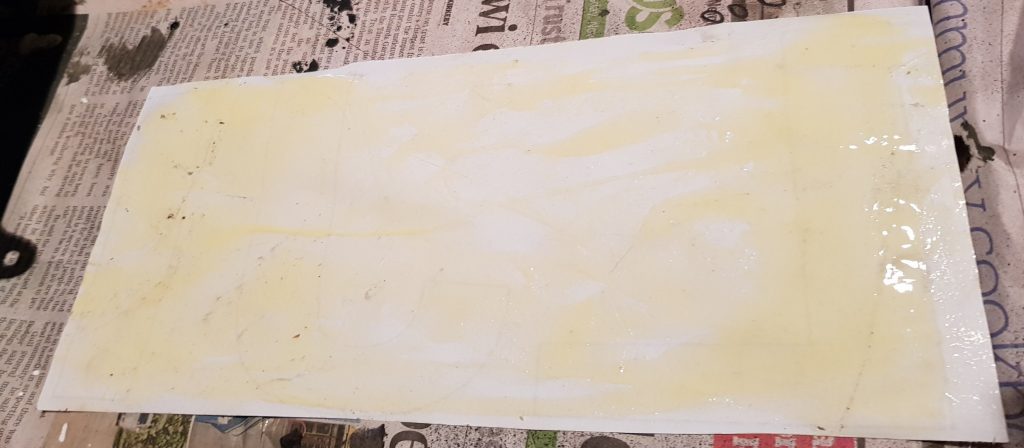
Apply the Glue to the non-printed side of the paper.
Spread the glue on paper.
Put paper on wood glue side down, and carefully smooth it out, removing all bubbles and leave to dry.
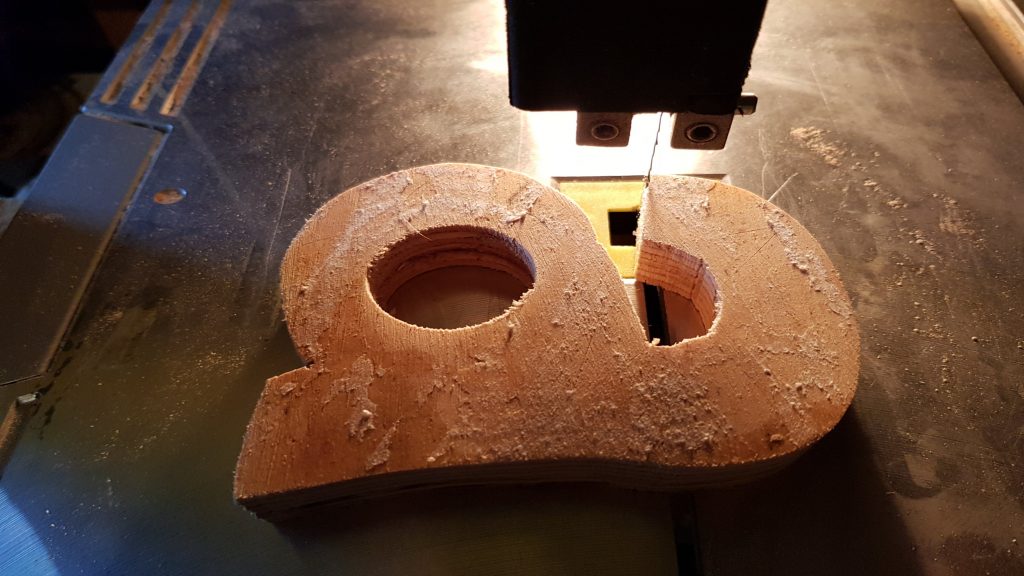
Using the Bandsaw cut out the shapes of the letters for the sign you intend to make.
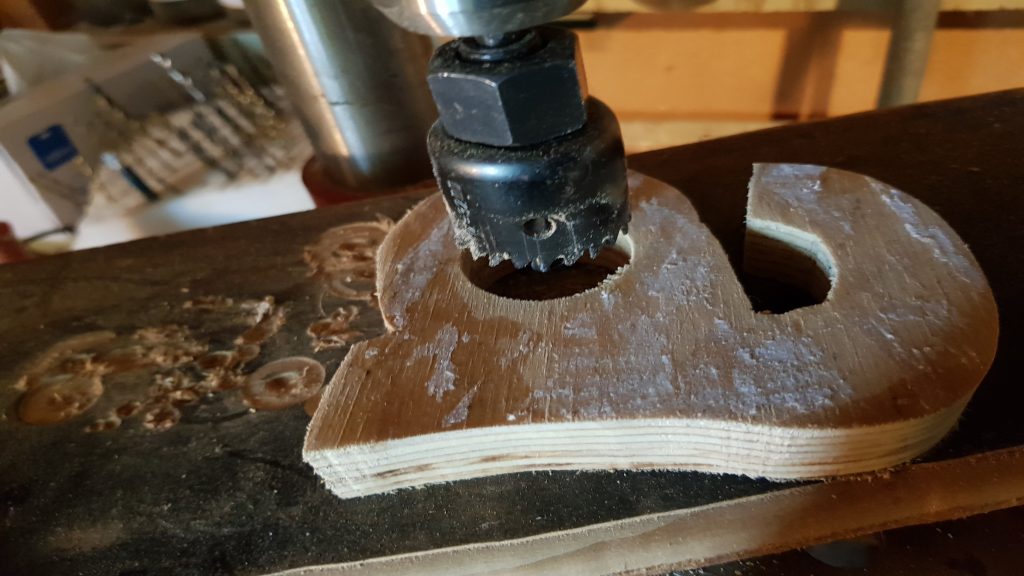
You can use others tools to cut other parts of the letters like for straight edge use a table saw and a drill for holes.
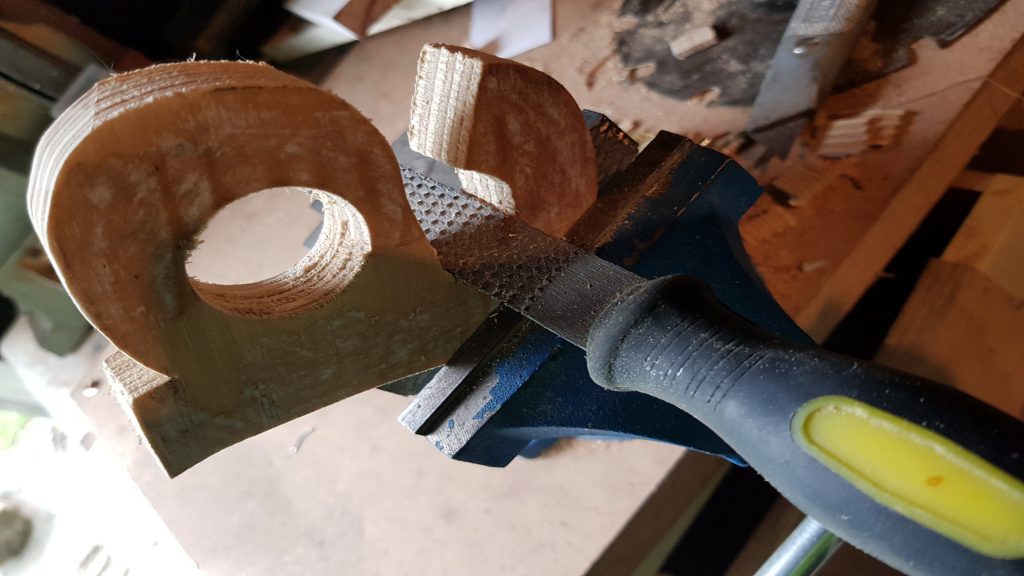
A rasp can be used to smooth down the shapes along with sandpaper.
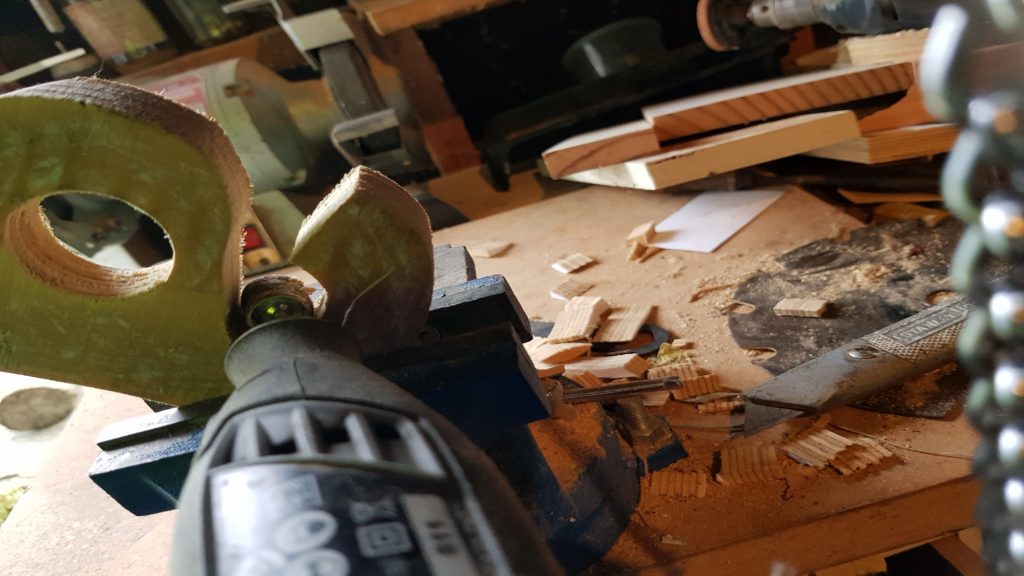
A Dremel or Rotary tool, with a sander bit attached, can be used as well to smooth areas of the shapes to prepare the shapes for painting.
Before you paint the letters the paper, which yu previoulsy peeled off will need to be sanded.
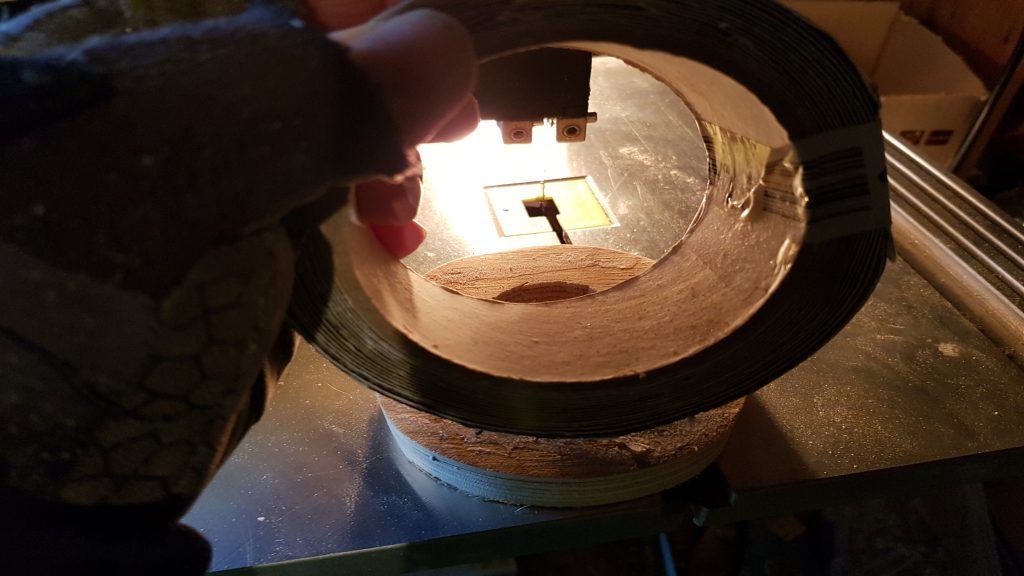
To remove the paper from the wood you can spray water or brush water onto the paper and when the paper is truly wet use your fingernails or a scraper to get the paper off the wood.
Leave to dry and then the small amount of paper left can be sanded off.
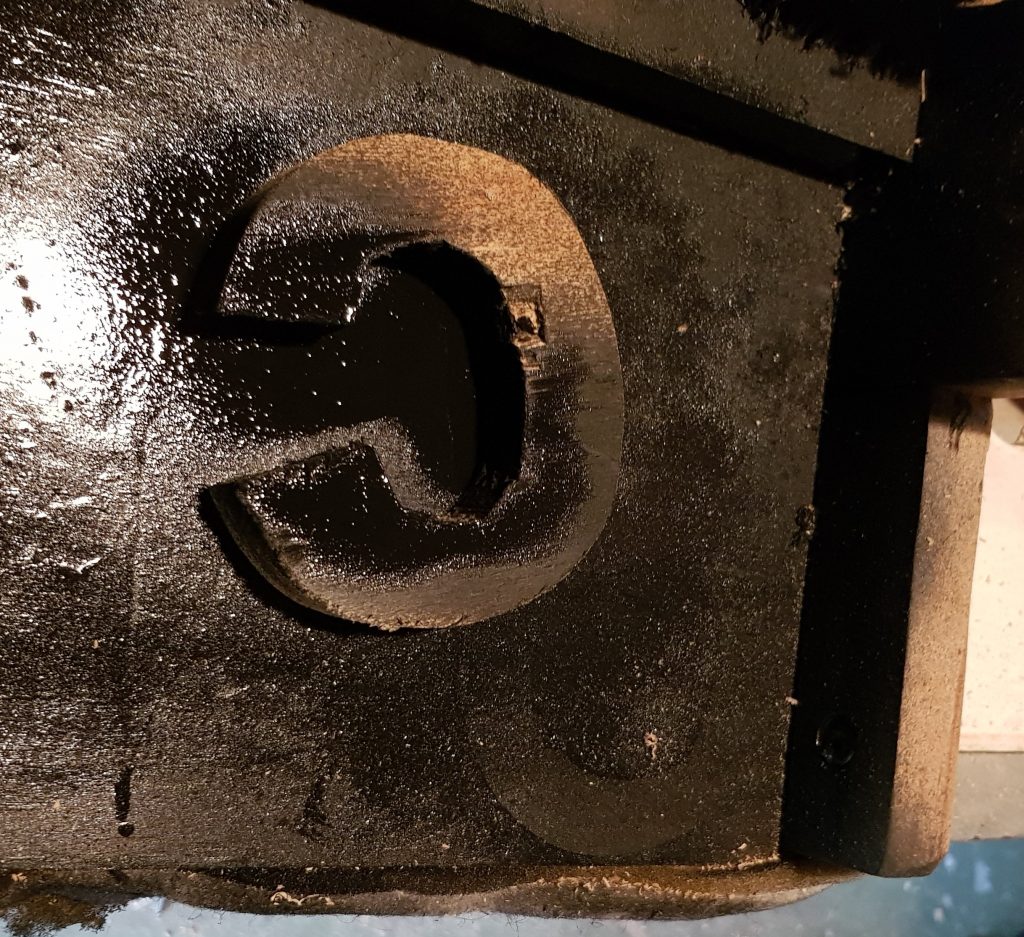
Turn the letters over so that the back is upright, & spray with (in my case) Black Spraypaint.
Spray paint or hand paint the back of the letters to seal them for outside weather.
Be sure to not get paint on the good side of the wood so that this can be painted with a much brighter colour to make the letters stand out on your sign.
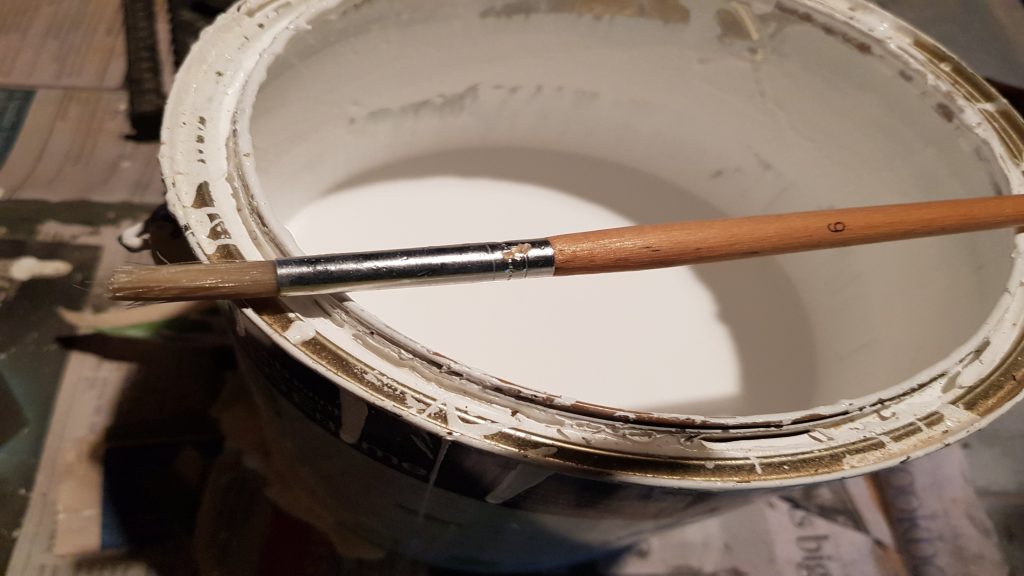
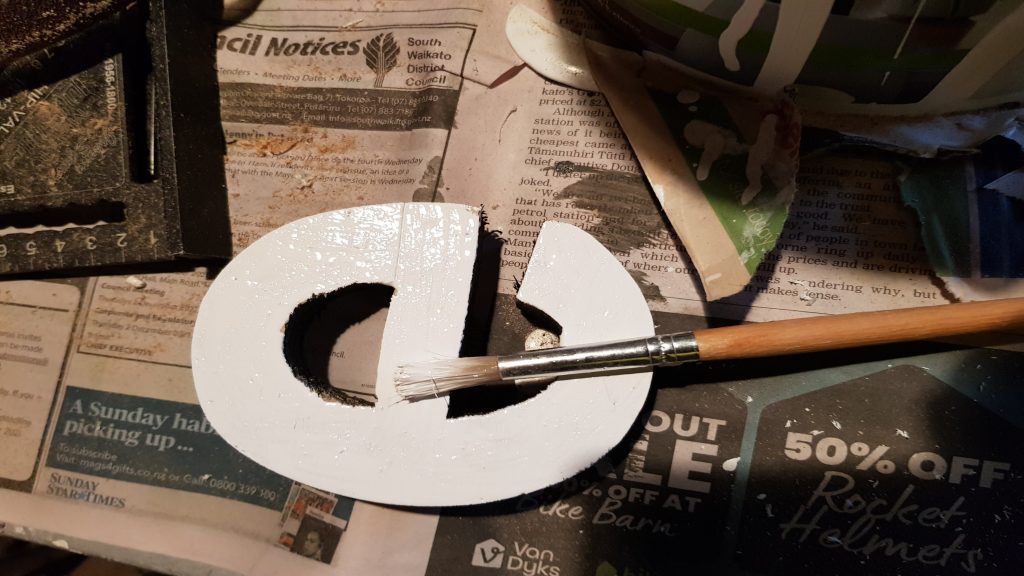
I used this paint brush to paint white exterior acrylic paint to the good side of the letters/shapes.
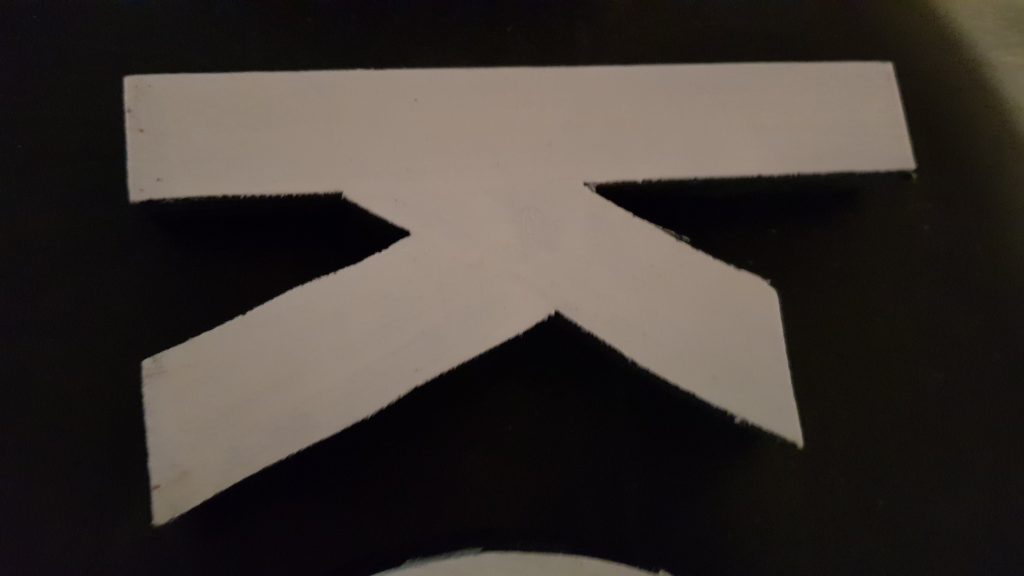
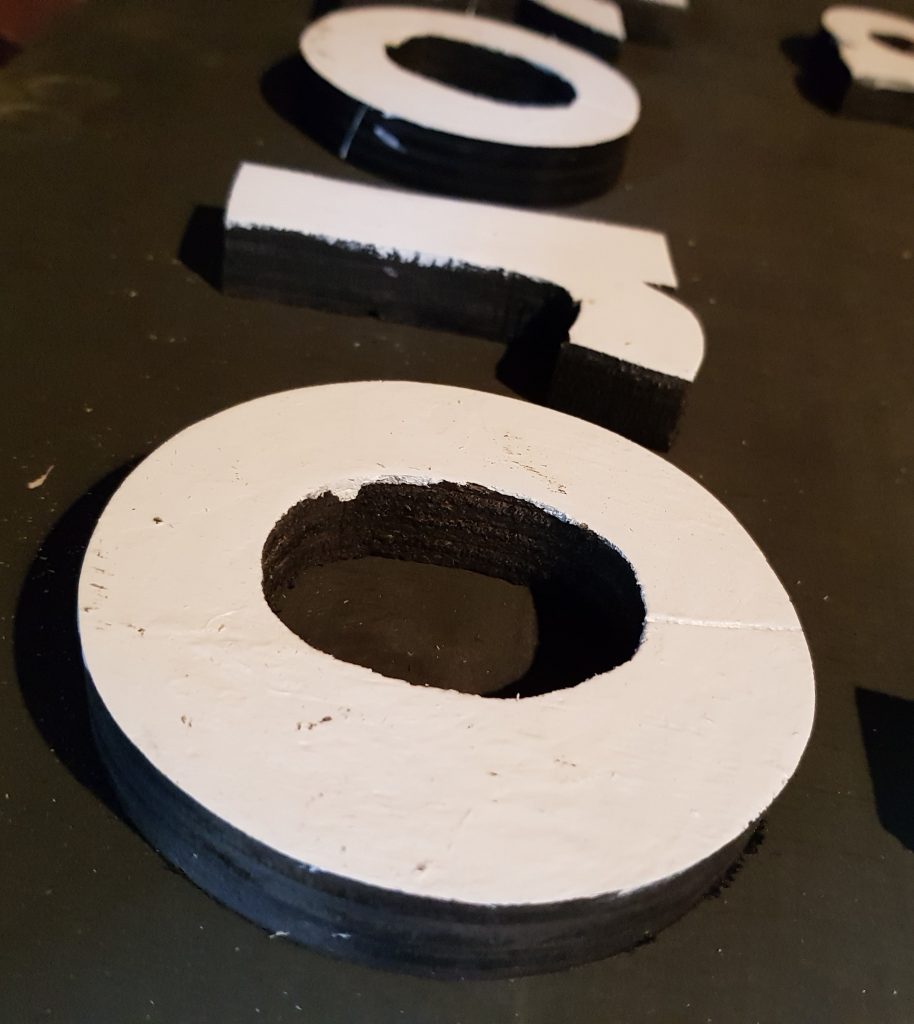
The top of the letter is bright white while the sides and back are dark black.
Leave the front of the letter to dry, then paint at least one more coat of paint.
After the letters are dry you can put them on your sign. Above right you can see that some white paint dripped onto the black, and this is easily fixed with a some black paint and a paint brush.
I have not finished this sign yet, so I can’t show it here.
But my intention is to have it on a framed board.
All the best from James Martin Sandbrook. 29th of June, 2022.